An Astounding Stone Fire Pit Pack Can Turn Your Fantasy To The real world
Your fantasy of an astounding stone fire pit pack might work out as expected assuming you will just follow the six straightforward advances instructed splendidly by Dan Kelly. You will require the accompanying things:
- 44 bits of man-made custom sweep stone
- A weighty check steel fire ring made to an ideal range
- A draw away uncompromising grille
- 3 sacks of ocean side sand
It will be intriguing to take note of that this stone fire pit unit is not difficult to buy as this kind is prevalently introduced and utilized at camping areas. The ocean side sacks of sand which will be utilized in the lower part of the fire pit give the hotness boundary as it retains the hotness that should spread external the fire pit.
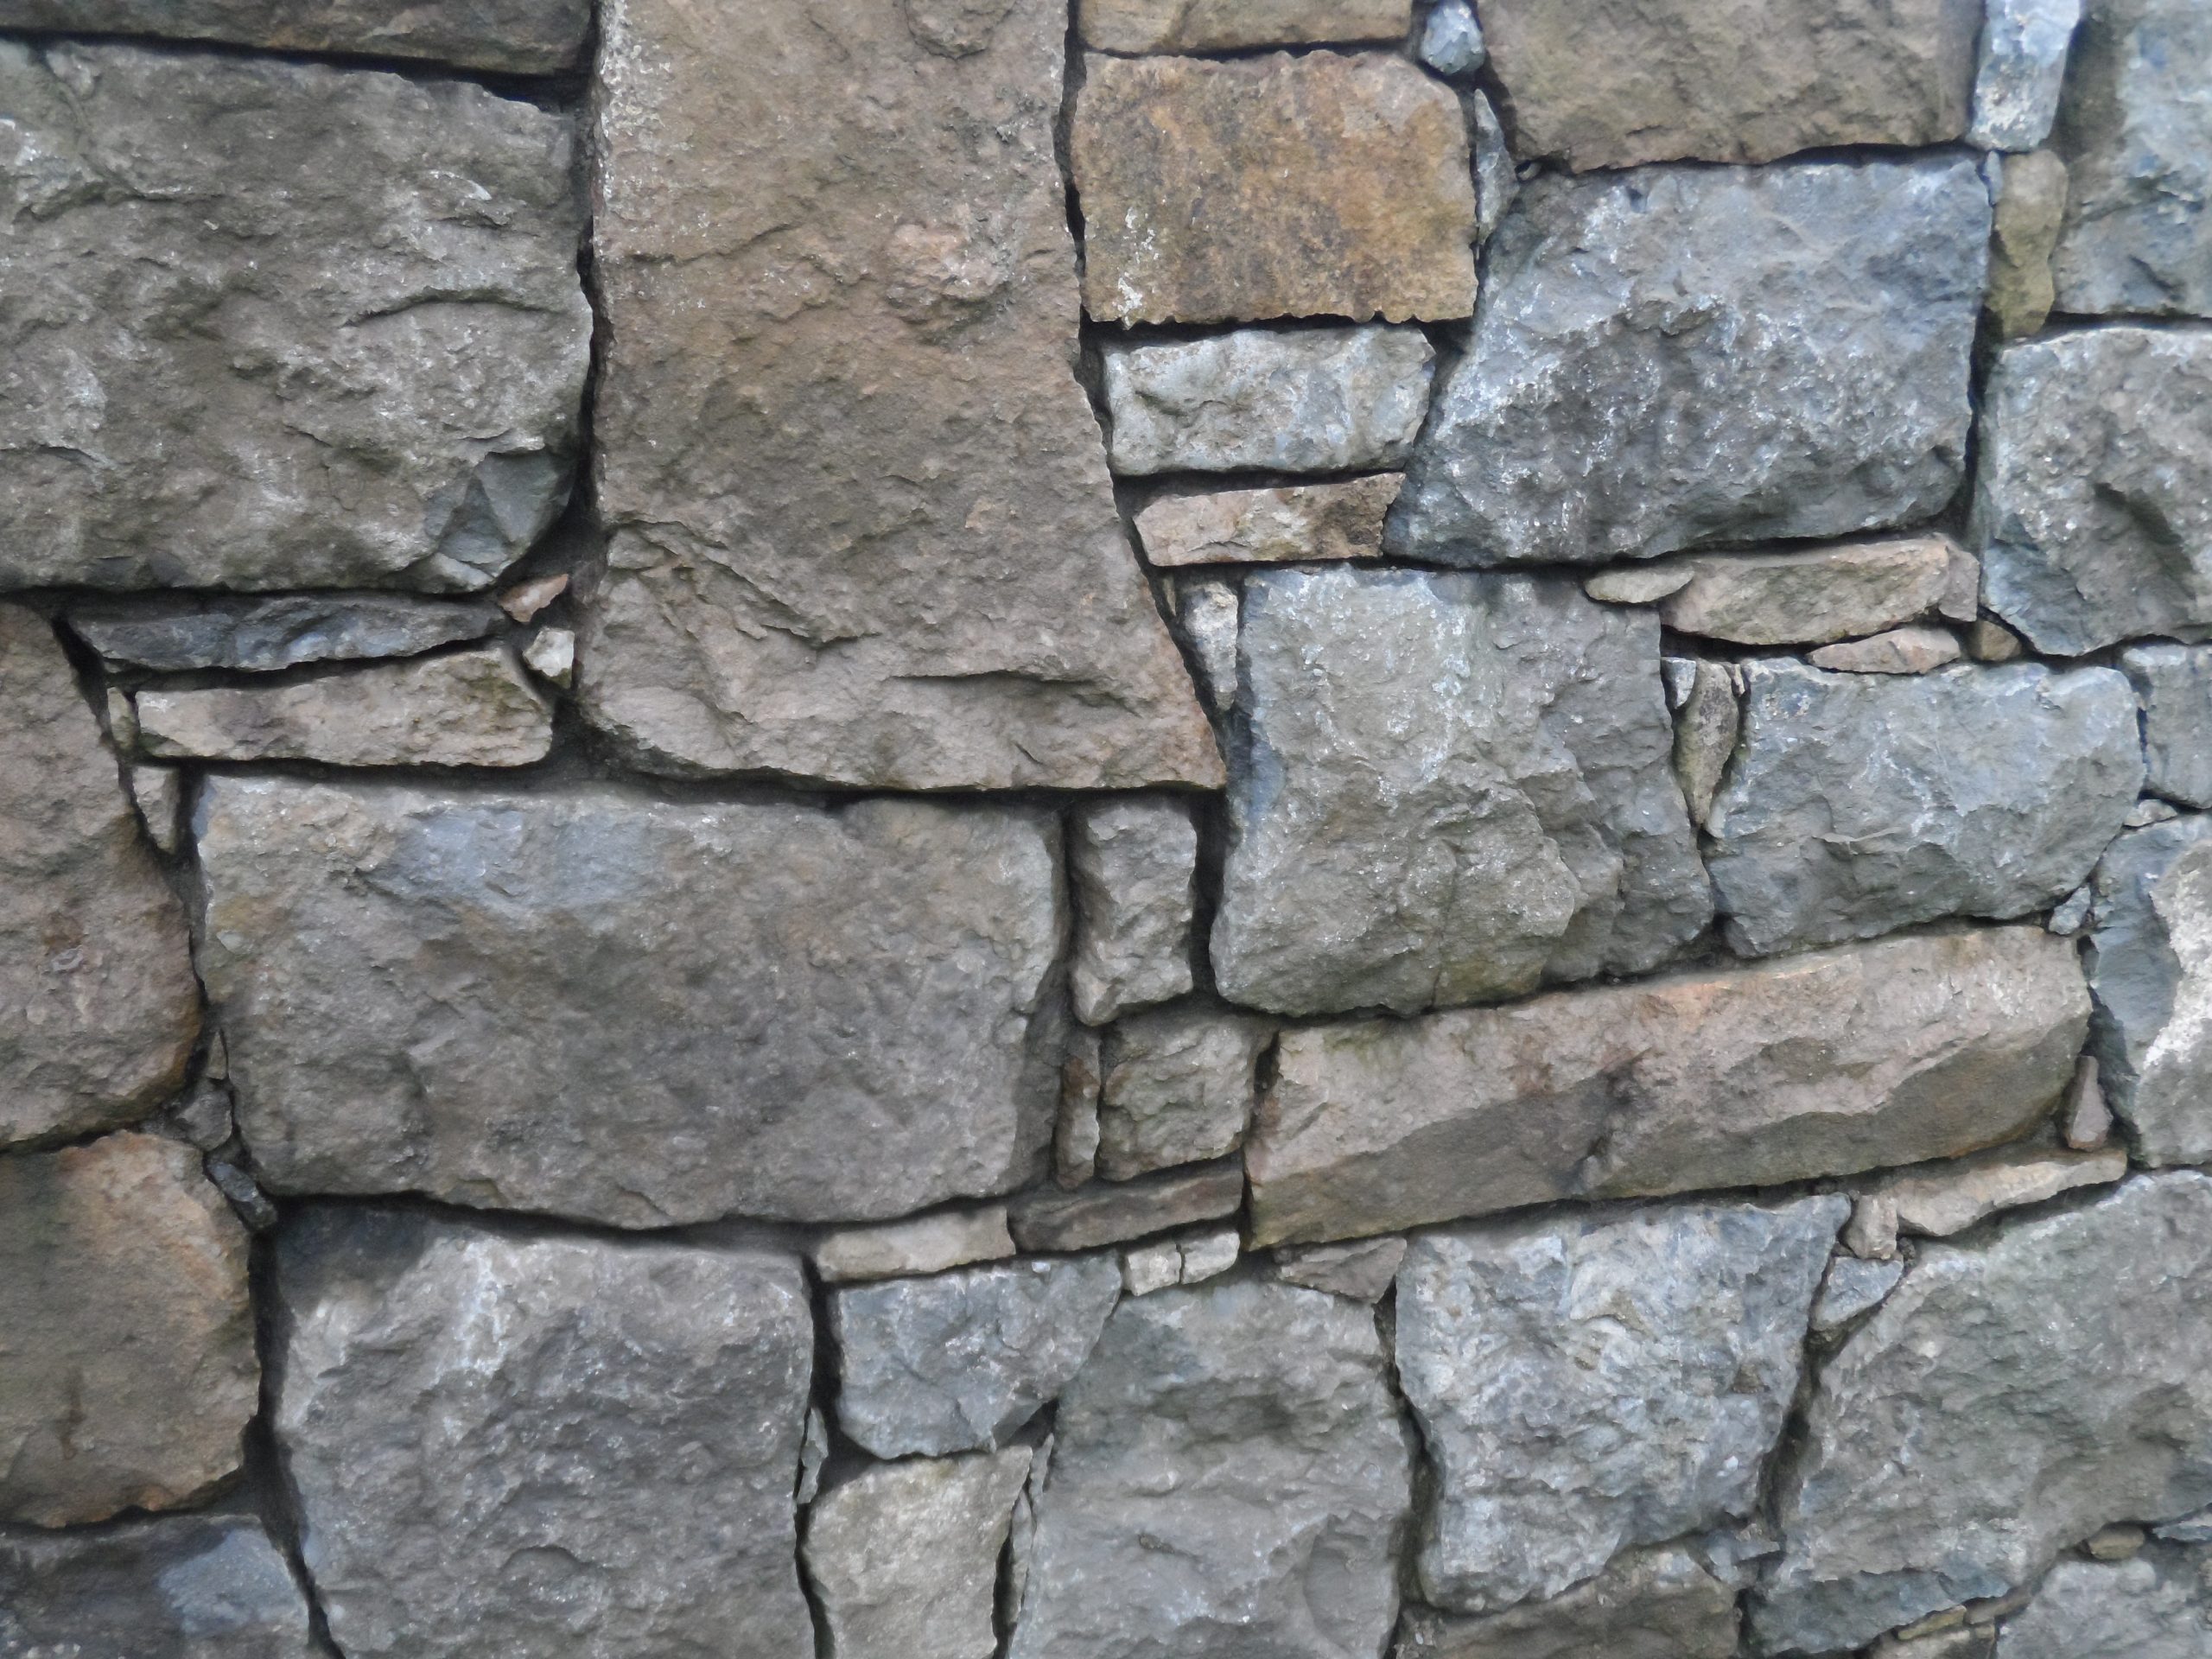
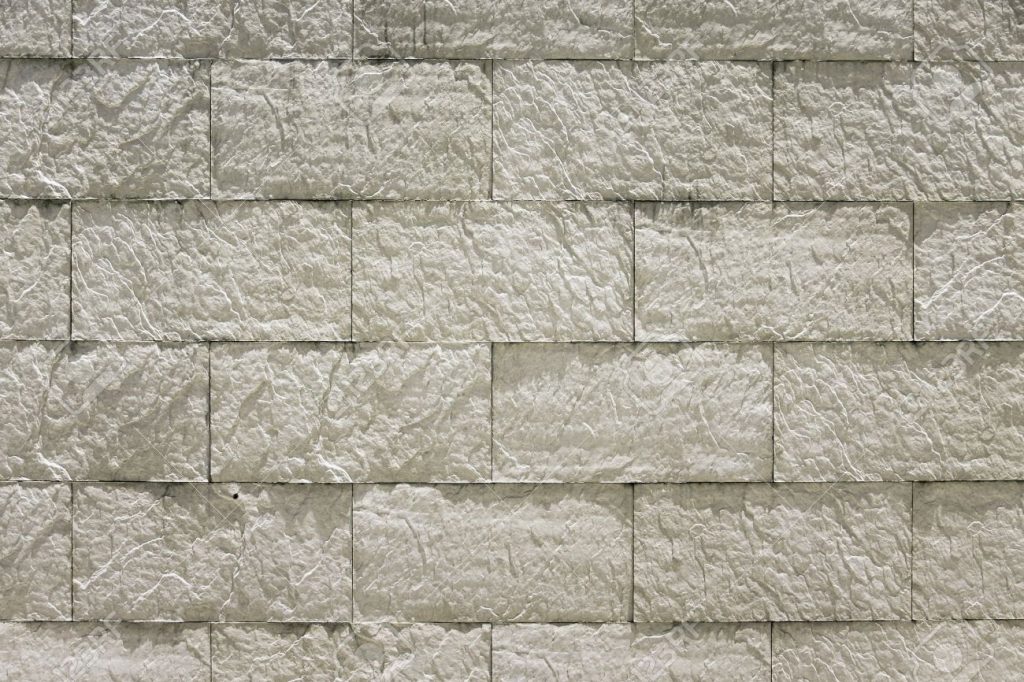
The 44 stone piece stone squares are man-made custom-span stones which are typically made with an unpleasant space on one side and a smooth sweep on the other. The top and lower part of each stone are quite level for simple stocking so you don’t need to form them any longer.
Instructions to Put the Stone Fire Pit Pack Together
Stage 1
Place the steel ring and put it on the ground so you can begin the principal layer of stone bricks around it.
Stage 2
Take the principal stone and slide it against the ring, ensuring that the smooth range stone side is put at the inside side against the steel ring while the unpleasant edge of the stone is seen outwards. Put the following square of stone and combine it with the main stone. Join every one of the stone squares until the last stone is set one next to the other with the primary stone. The excellence about the size of the stone squares is that you don’t have to cut or organize them as they would fit well with the steel ring.
Stage 3
At the point when you put the second layer of the squares, ensure that the joint of the primary stone on the subsequent layer is lurched against the principal layer meaning, the stone on the subsequent layer is set on top of the two stones underneath it. Rehash the means of consolidating the stones until the last stone is one next to the other with the primary stone. Every one of those joints should be lurched as you set up the squares.
Stage 4
During the third layer of squares, you really want to lift up the steel ring barely to the point of putting several squares under it to keep it up where you want it so you can proceed with your ring of stones. You likewise need to ensure that every one of the joints is stunned. Keep assembling up the squares to finish the third layer of ring and the steel ring’s edge is situated a little over the ring of stones.
Stage 5
Get the ring again barely to the point of sliding several stones under it so we can keep utilizing the steel ring as our aide and putting the fourth and last layer of stones, ensuring that you keep the joints of the stones staggered.